Need Classroom Technology? Take Advantage of DonorsChoose
Step-by-Step Directions for Funding Your Project
DonorsChoose (https://www.donorschoose.org/) is an amazing method of requesting (and receiving!) those special items for your classroom that you’d like to provide for your students. In Century School alone, Donors Choose has funded iPads, Chromebooks, classroom libraries, flexible seating, green screens, document cameras, tablets, Sphero, Dot & Dash robots, 3D Printers, drones, and much more. Typical grants average about $500, although much higher amounts have often been funded. Smaller projects are more apt to be funded than larger ones.
DonorsChoose has been around since 2000, and has fulfilled over 1,292,000 projects! You’ve heard about the big giving days, right? On #BestSchoolDay 2018: Every Project Funded! Ripple fully funded every single live DonorsChoose.org classroom project. That’s over 35,000 projects in one enormous $29 million act of generosity. Although this type of broad-range funding doesn’t happen often, it does happen. And sometimes a local organization, such as 3M-Wonewok, will set a date and fund all local projects that happen to be posted. The odds of having your project funded are very high, especially if you assist in the promotion of your project, and posting a project is not difficult. DonorsChoose is set up with great suggestions and directions all the way through.
Steps to using DonorsChoose
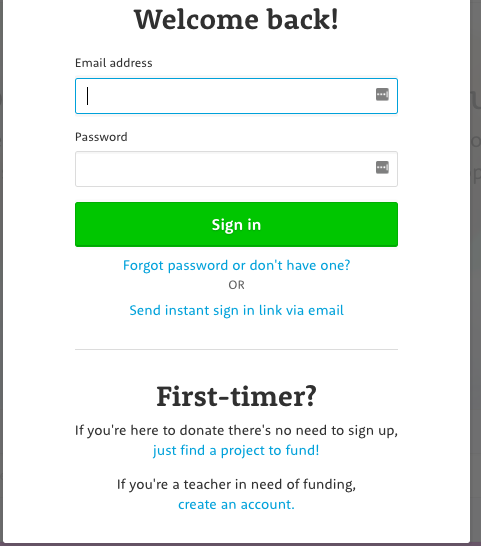
First, set up an account. Visit https://www.donorschoose.org/ and follow these steps:
- Click Sign in and select Create an account at the bottom of the box under First-timer?
- You will follow the steps shown. Click on Set Up My Teacher Account
- Answer the teacher eligibility questions and select I’m eligible! Let’s get started.
- Sign the user agreement and select your school by typing in its name. Then click Yes, Continue.
- Select the grade(s) you teach, or add your specific area in the space provided.
- Now create your contact and sign in information. You don’t have to include your birthdate. If you have an additional personal email address go ahead and use that one. You want to make sure that DonorsChoose can reach you, and all of your requests will be verified by the administrator at your school even if the email address isn’t your school address.
Once you review your information you will be able to view a very informative teacher tutorial. This is a really good thing to watch, and it’s only a few minutes long.
Now that you’re registered, making your first request is easy – and DonorsChoose supports you with the first $50 of your project’s budget. You’re already on your way! So let’s build our first project.
Creating a Project Request
There are tons of sample projects to view that can give you great ideas for writing your own. There are two types of requests that you can write:
A Standard Request:
- Materials for students
- A class field trip
- A classroom expert/visitor
A Professional Development Request:
- Support for online or live staff development participation, or materials that will help you as a teacher.
Begin by selecting Create a Project.
Then select the type of project you’d like to create. Most projects are for classroom materials, and would be a Standard project request. Click Let’s go!
On this first tab you will tell about your students, selecting their age group, number of students, and then telling something about them. Again, there are samples, but be sure to use your own words as you describe the unique combination of children you work with daily.
Continue through each tab, answering the questions about your project. Be as clear and compelling as you can. The reason people want to assist your classroom is for the opportunities afforded to your students and their learning. Tell your story.
On the tab labeled Go Shopping you will be able to look through catalogs and locate the items you are interested in.
A few notes:
- Document cameras run between $86 (for a very inexpensive model) to $500 or more. Check with one of the teachers who have one to determine the model that will be most effective for you.
- Chromebooks ($289) and iPads ($299) also need the purchase of a license and case. Todd assists with the final ordering.
- Successful projects are everywhere, and you can read everything the teacher wrote to complete the proposal. Take advantage of reading through these to see what makes them successful.
Many teachers in Park Rapids have projects posted currently, or have had prior projects funded. They are willing to give you advice and pointers. If you need names of teachers to talk to, let Todd or Laurie know and they’ll point you in the right direction.
While your project is active, there are many ways you can share it with the community. Promote it as much as you can and you will be successful. If you use Facebook, Twitter, or Instagram you can share your project easily, but even if you don’t, there are other ways to bring attention to it. Use them!
Finally, when your project is funded, it is required that you send thank you notes. People (and companies) LOVE pictures. One tip – take some pictures of your class with large posters that say THANK YOU! and have them made into cards through Shutterfly. They will be handy to have.
Good luck!
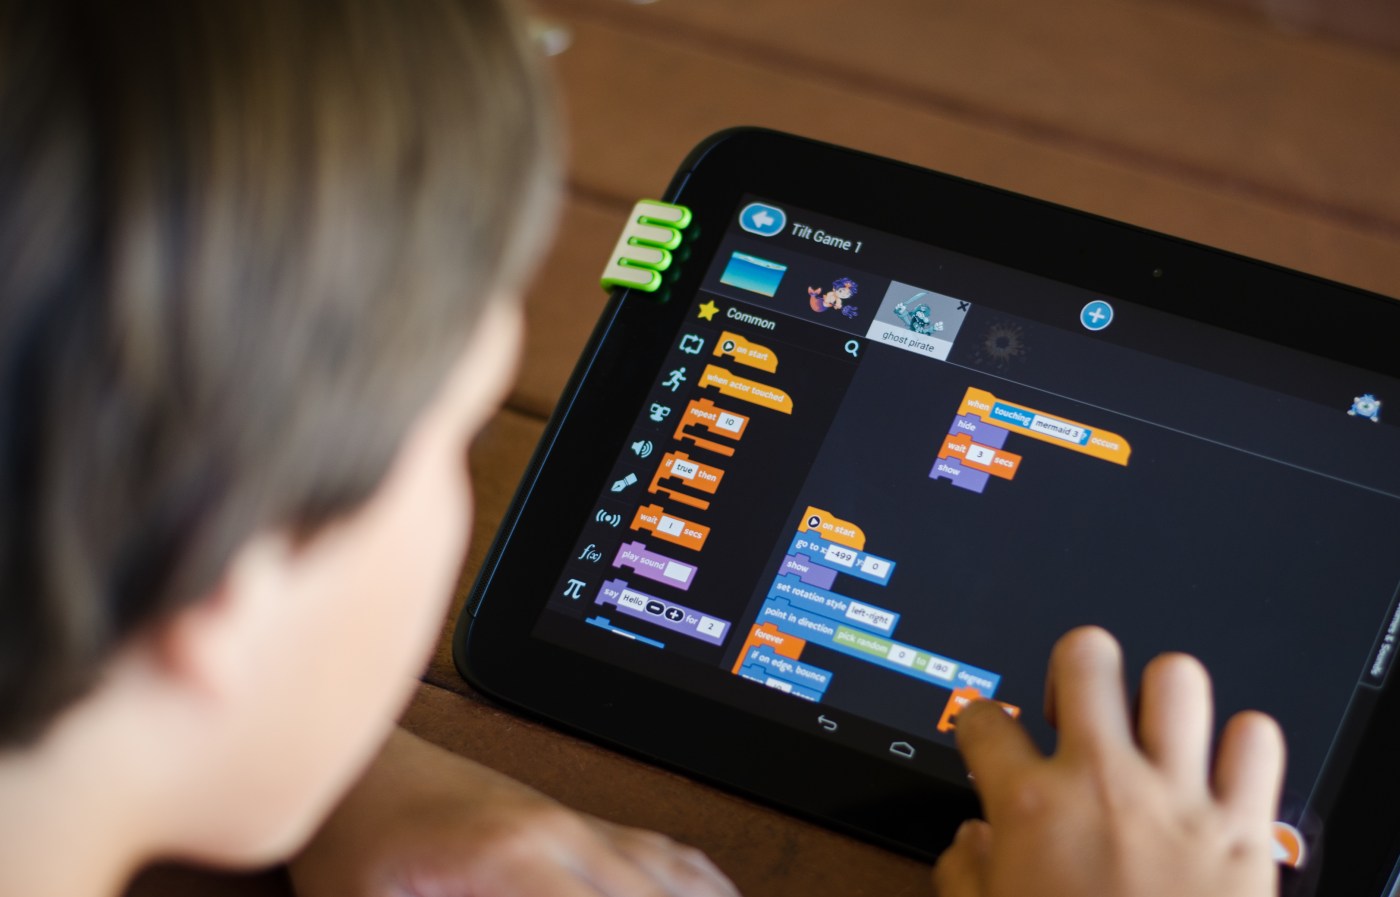 The Hour of Code began as a one-hour coding challenge to give students a fun first introduction to computer science. It quickly grew into an annual activity with participation in the millions, and with students from kindergarten through college. It also has sparked a larger conversation about the value of teaching computer science in schools, and also about the amount of learning that takes place when students participate in the language of coding.
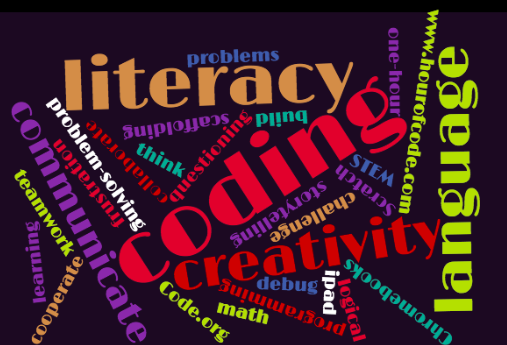 Coding is truly a new literacy. It provides students with the opportunity for personal expression and storytelling in incredible new ways. The logical progression of the coding process requires student to storyboard, plan ahead, and think critically. It provides them creative ways to share those stories with others, as well as to build upon the stories created by others.
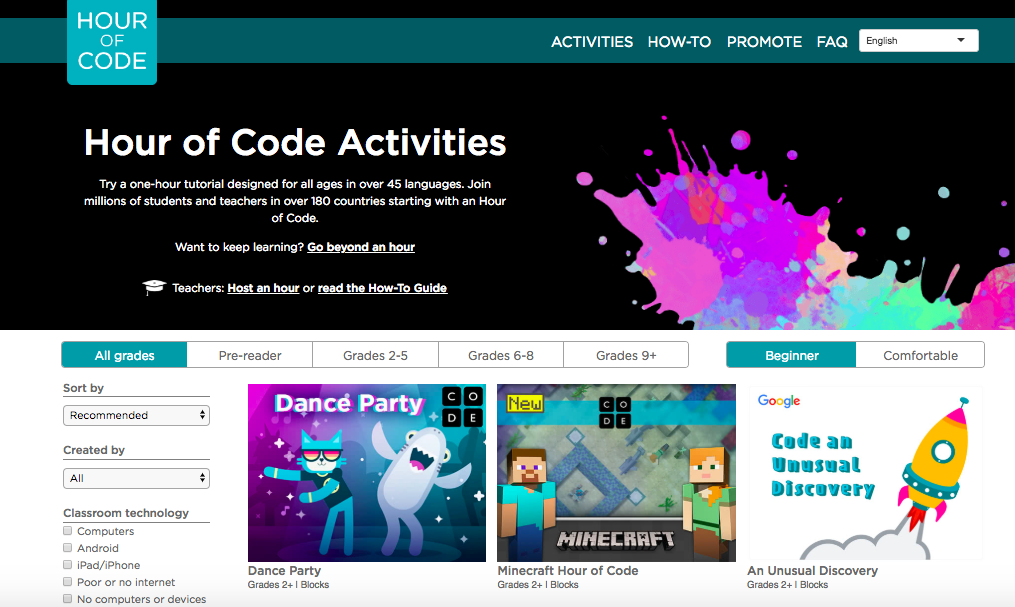 You can start with the 2018 promotional
 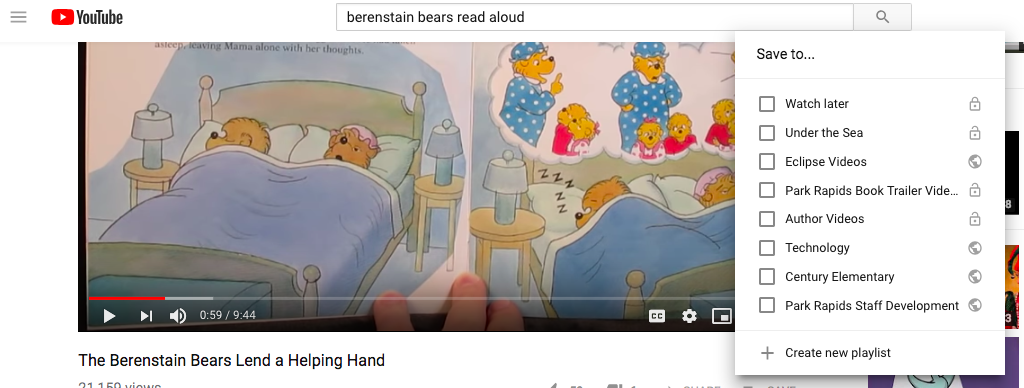 A playlist is a collection of videos. Anybody can make playlists and share them, and you can have multiple playlists on your account, so you can create one for each topic or subject are you teach. Want to put together a collection of read-aloud story books, or one with videos highlighting specific directions for your math class? How about sharing a common experience for your students, or providing background information for a new topic? Playlists are for you.
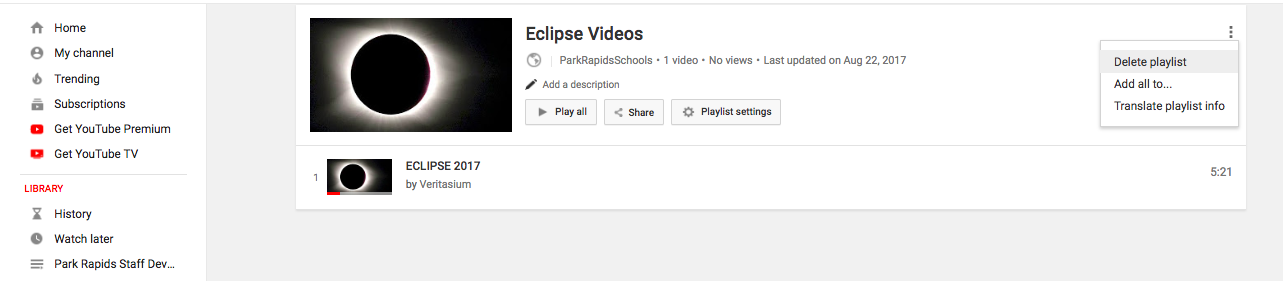
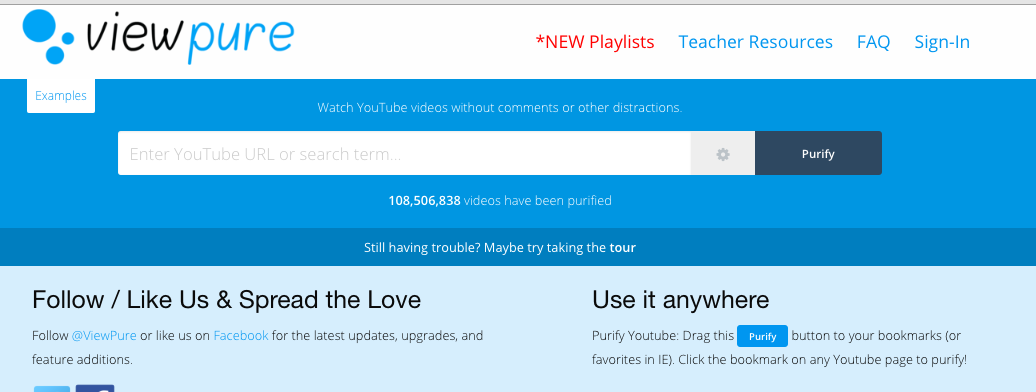 An additional tool that I love, and that works with Youtube exceptionally well, is ViewPure, found at
  As educators we really want our students to speak and listen, to share and comment, and to find the confidence to use their own voice, but so often in classrooms this is difficult. There’s not enough time. There’s not a good platform for sharing. There aren’t enough devices to go around. I can think of a million reasons why amplifying my students’ voices just won’t work…but when you try Flipgrid I think you’ll see just what amazing things can be done when we do allow our students to talk.